Cat 6 Network Installation
For many years I have been planning to run network wiring through my house, but I have put it off as it has felt like a large undertaking, and I have not needed it. A hole through the wall has given my workstation wired access to the router, and my seldom used HTPC RPI has had ethernet over the power grid by way of a pair of adapters given for free by the TV company. A while back, after several years of service, one of the adapters broke and I only recently noticed. This provided me the necessary impetus to finally get going.
The wiring will connect five rooms (R1-R5) through the attic. Unfortunately I have had the attic filled with cellulose insulation while putting this off. Four rooms are adjoining — meaning two interior walls will be used to run cable to two rooms at once — thus there will be three points in the attic to excavate, we will name these W1-2, W3-4, and W5. W3-4 is the point where all cables will converge into a switch in R3. W3-4 already has a preexisting pipe into R4 with an obsolete coax cable, this pipe will be reused and the coax cable replaced with cat 6. Both W1-2 and W3-4 will be fitted with two pipes: W1-2s pipes will be going into a separate connection box for each room; W3-4s pipes will both connect to a single box in R3 and carry two cables each. W5 requires only a single pipe. To make installation easier a piece of flexpipe will bridge the connection box and the pipe proper. Before going into the attic I made the necessary cuts for the connection boxes in the five rooms using a hole saw.
The weather forecast for the weekend: warm but cloudy, with light rain showers. For summer that is probably the best you could hope for as it gets very hot in the attic when the sun is out, clouds makes it uncomfortably warm but bearable.
First up was W5. It was the best place to start as it is easiest to access and the easiest hole to locate. The outlet will be placed about a meter from a fireplace; the chimney will be used as a point of reference, all we have to do is account for offset whe measuring as the interior chimney has a smaller diameter than the outer part running through the attic.
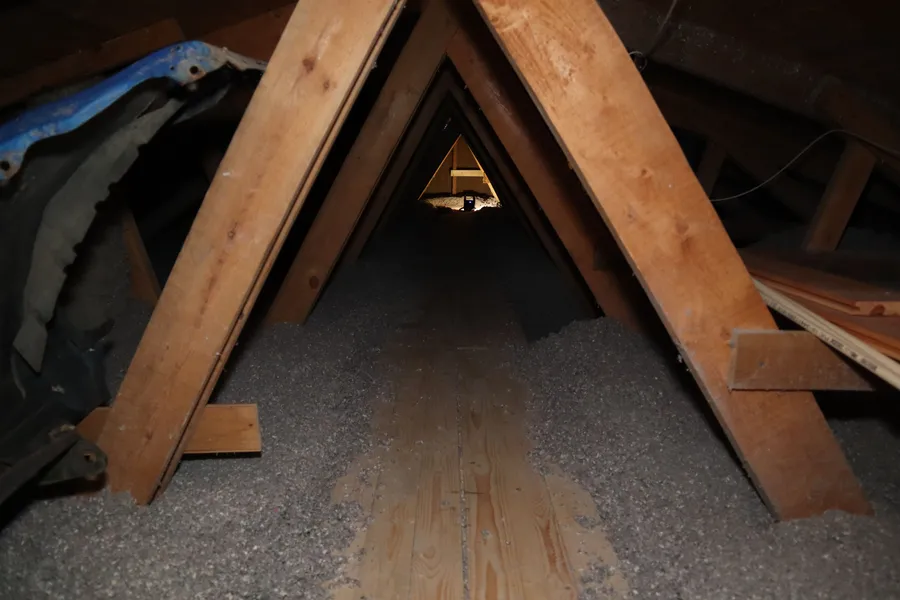
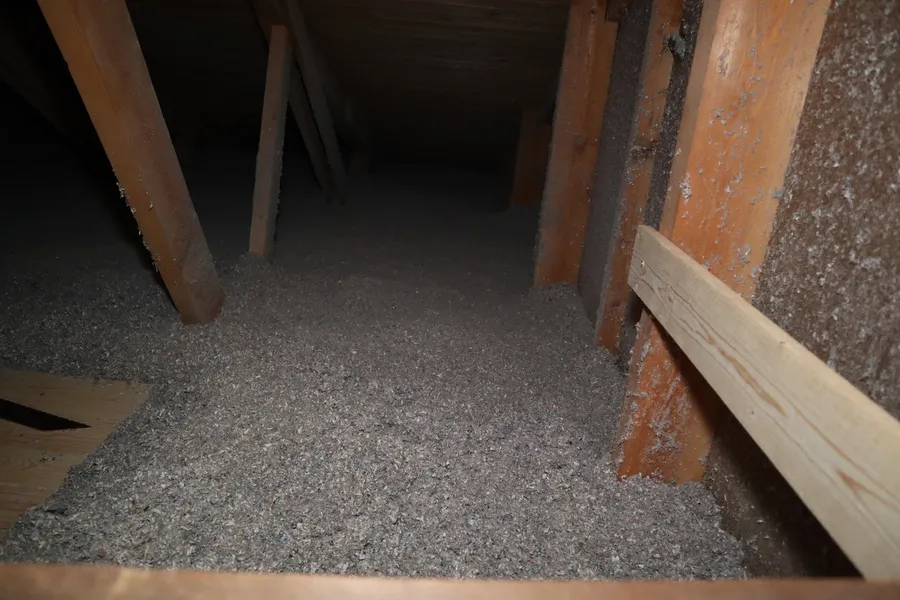
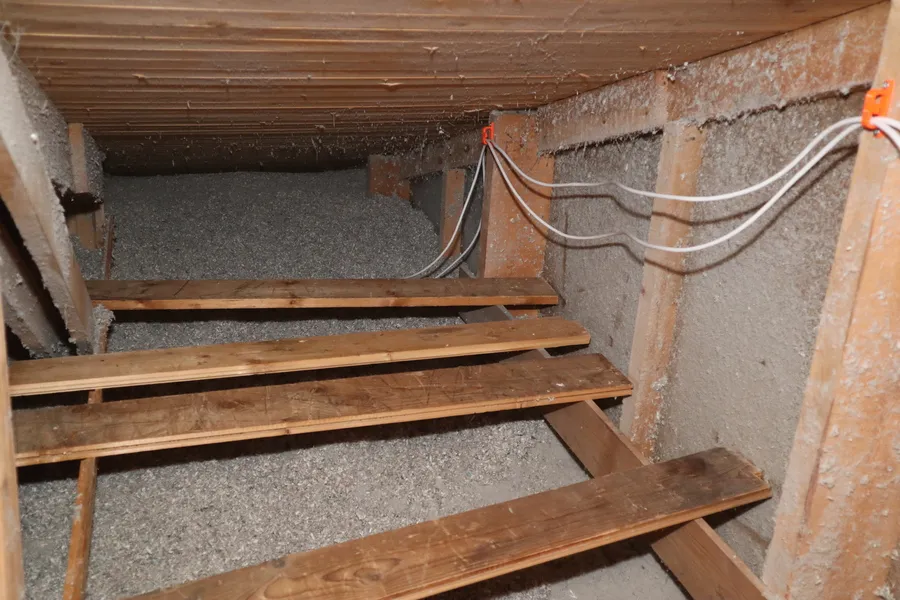
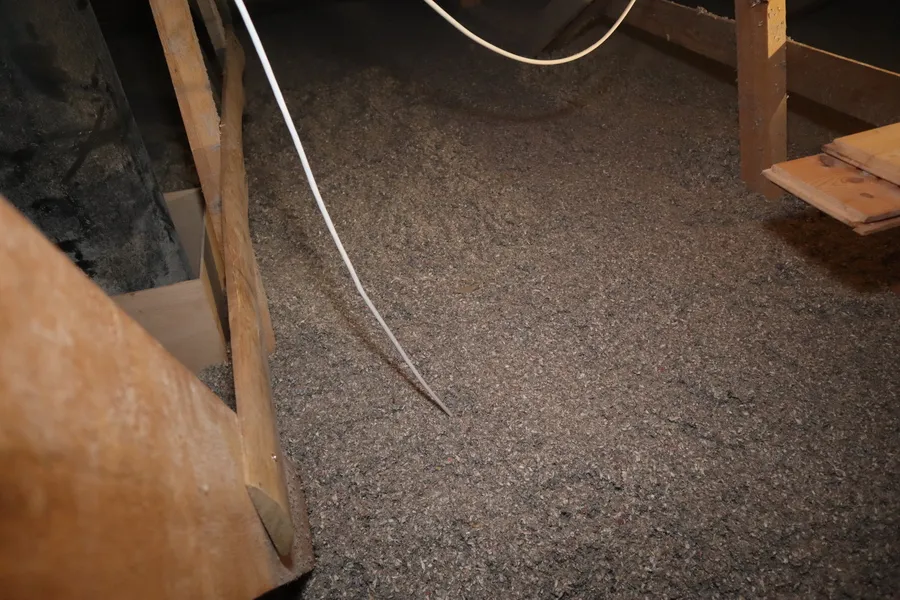
There is a walkway across the attic that was put in when filling the place with cellulose, built on top of a preexisting walkway. As there was space I shovelled aside a good patch of cellulose and dropped down onto the old walkway. Going in I knew there was a risk that the old walkway would cover the spot to drill, fortunately the hole fell about 20 cm outside. All I had to do then was cut out a square of rock wool and drill a pilot hole. The pilot hole was placed perfectly, unlike the pilot hole we drilled when installing the chimney. Switching to the 16 mm spade drill I drilled the proper hole and sent the pipe down.
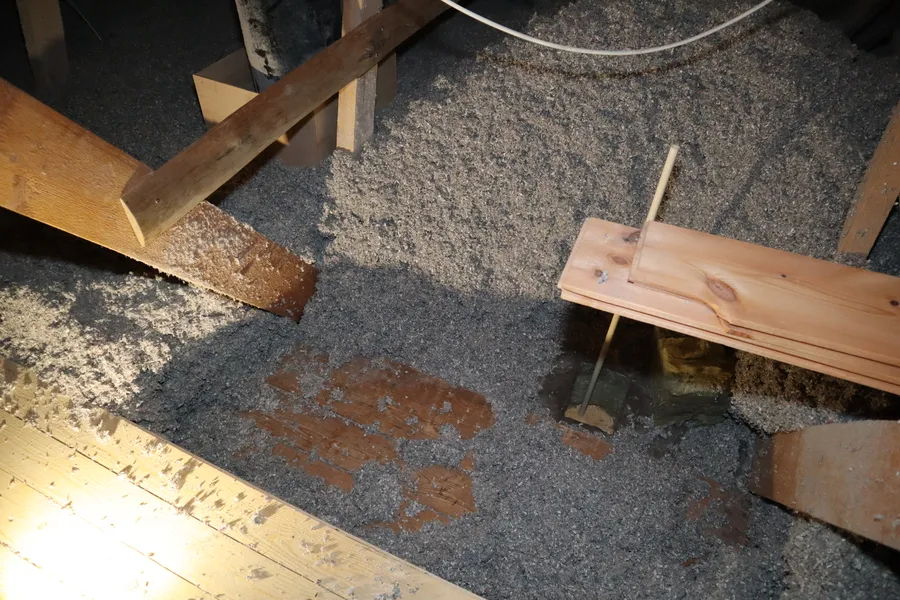
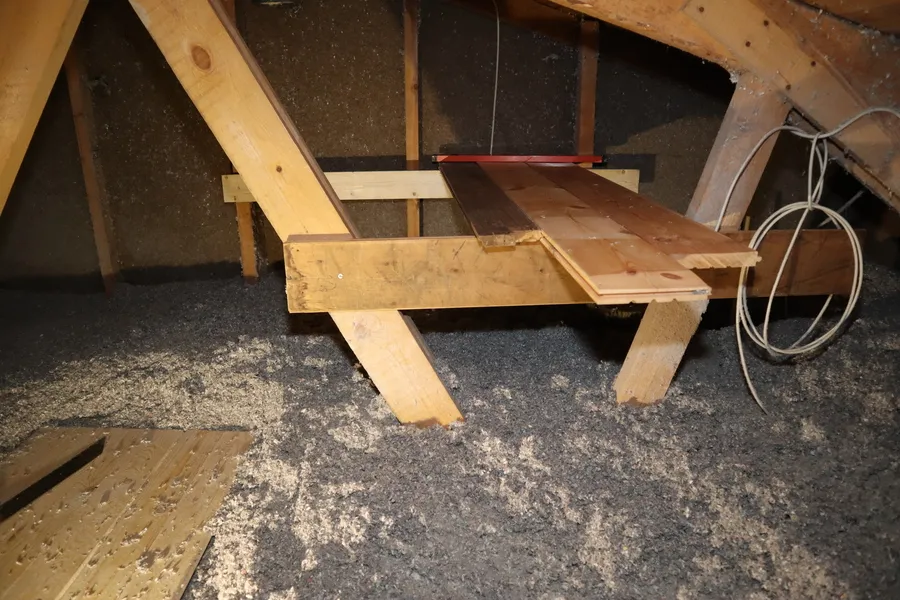
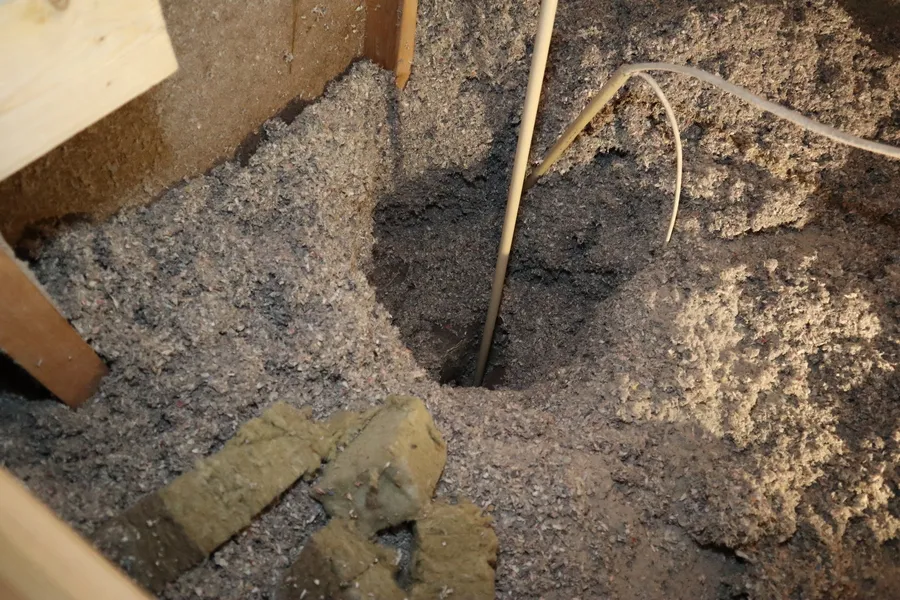
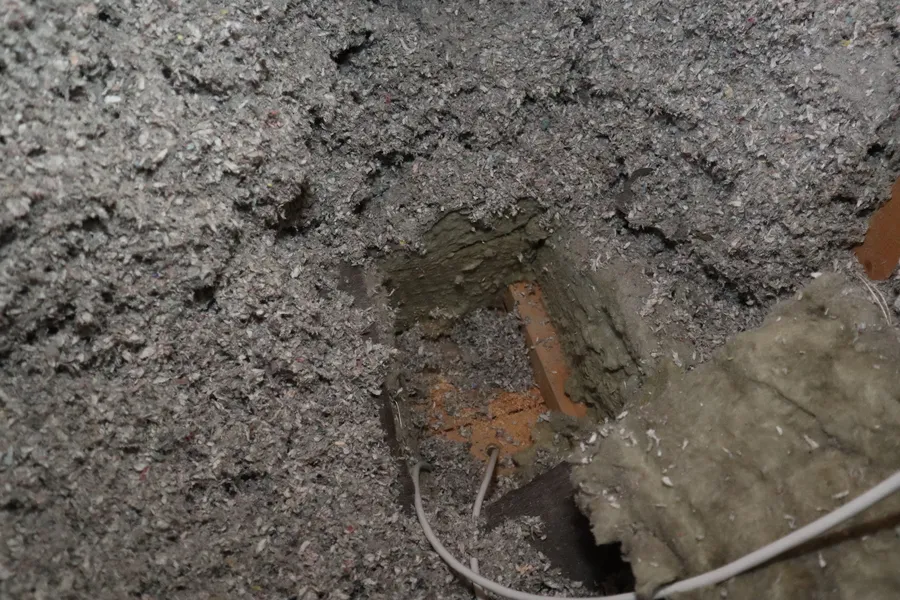
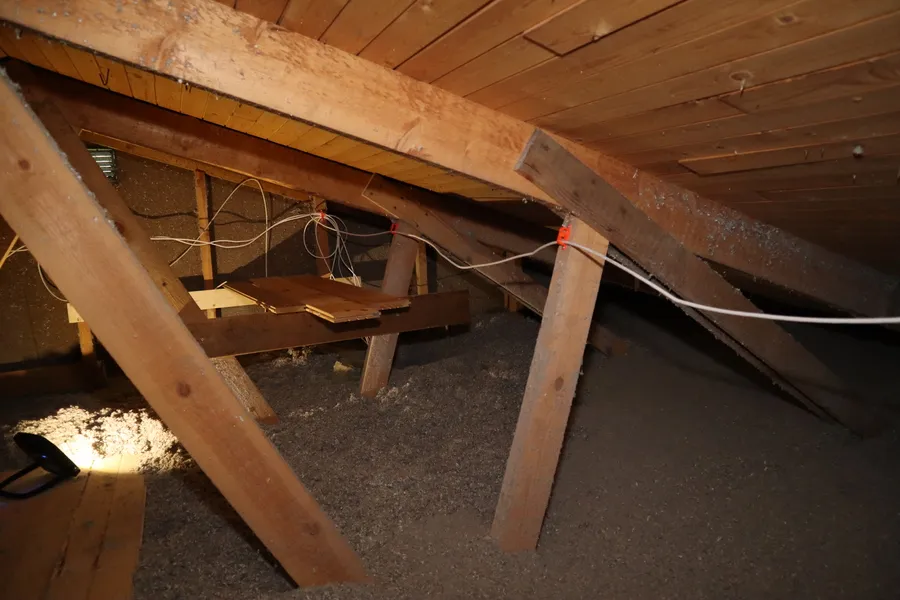
The second location would be W3-4. Both W3-4 and W1-2 is away from the walkway and required constructing platforms which to work from. I built the platform at W3-4 higher than I should have; the cellulose layer is about 40 cm thick, and the platform height ended up a similar distance above that. Working under the assumption that the W3-4 wall lined up with the W5 wall put the pilot hole beneath part of the platform, and the vertical distance was not too great a disadvantage. However, the pilot hole was off-target as the two walls do not, in fact, line up.
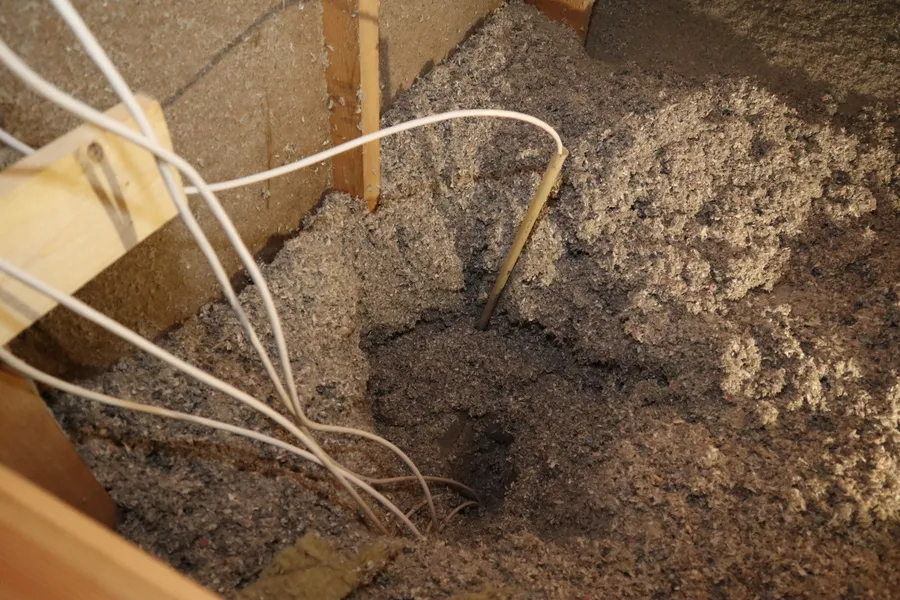
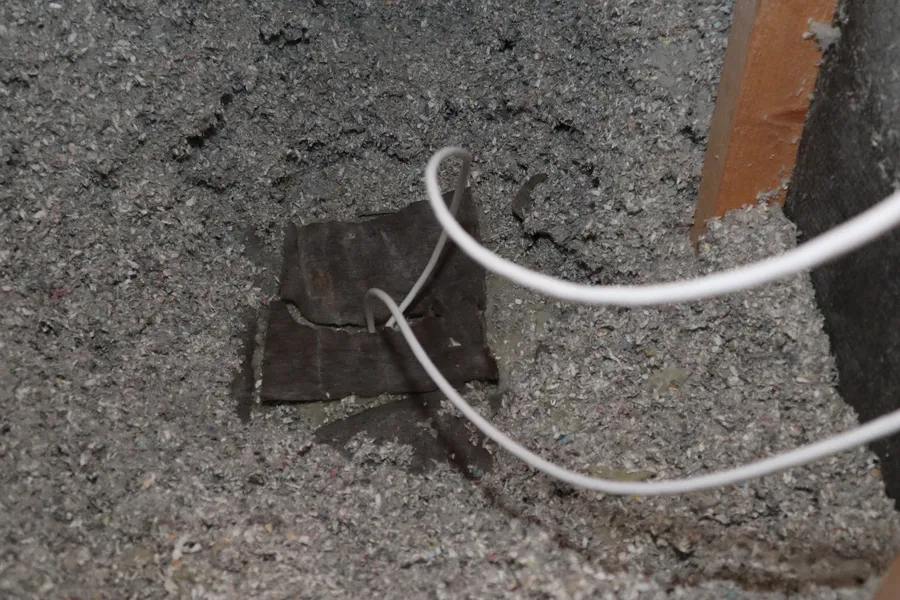
Using the missed pilot hole to recalculate, I put the rock wool I had cut out back in and covered the hole again. The new measurement put the hole 75 cm further away from the platform. This was ergonimically a lot worse. Shovelling the cellulose sucked. Cutting the rock wool with cellulose falling back in sucked. Eyeballing a measuring stick 40 cm above the actual measuring points is not great for accuracy. Neither is hanging down at an unfavorable angle with your legs hooked around a rafter. The second pilot hole missed the target by 3cm. Third time's the charm. The troubles at W3-4 were not over, however.. After drilling the two proper holes I had quite a bit of trouble getting the first pipe to find the way to the connection box hole, as there was an obstruction in the wall. Each attempt had me climbing down from the attic and checking the hole inside the house to see if the pipe was reachable. In the end I had to put a decent bend into pipe before it went down the correct side of the obstruction, I think the hole was slightly angled to the wrong side. The second pipe into W3-4 went down without issue.
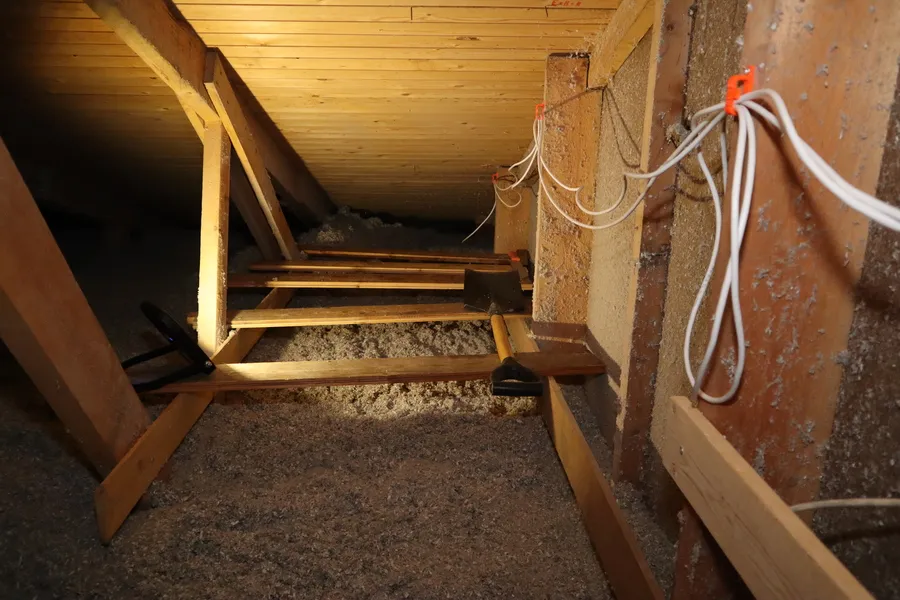
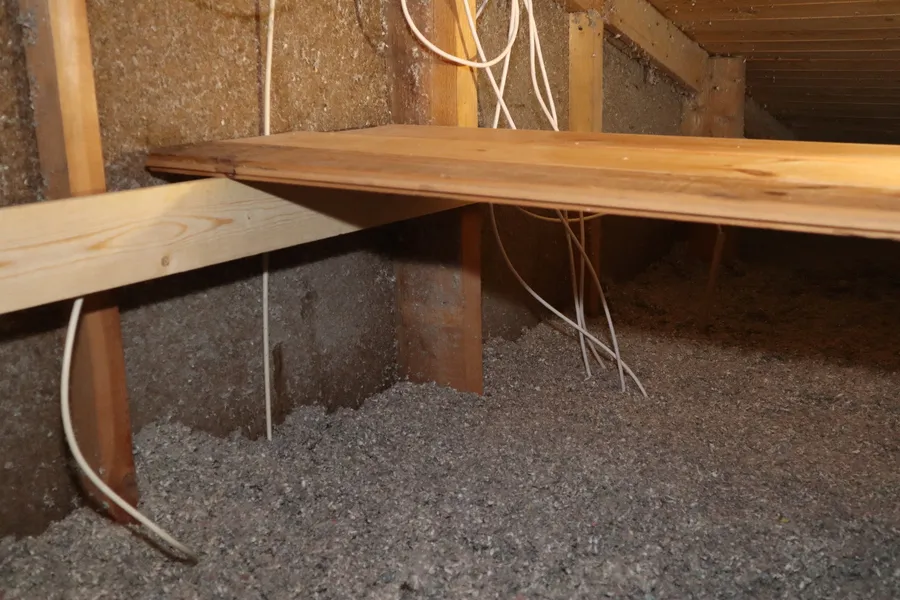
W1-2 was the last. It was farther away than W3-4, on the opposite side of the walkway. The platform needed to be much longer than the previous, and as low as possible as the roof becomes close. I would also have to be careful about the nails sticking down through the roof.
It would be tight working there, but at least being closer to the target on both axis was a welcome change. I had no easy reference to measure from, the best available was W3-4 which by size of the rooms and walls totalled a distance of 460 cm. The pilot hole came short of the target by 33 cm.. Poor show, at least the second attempt hit the mark.
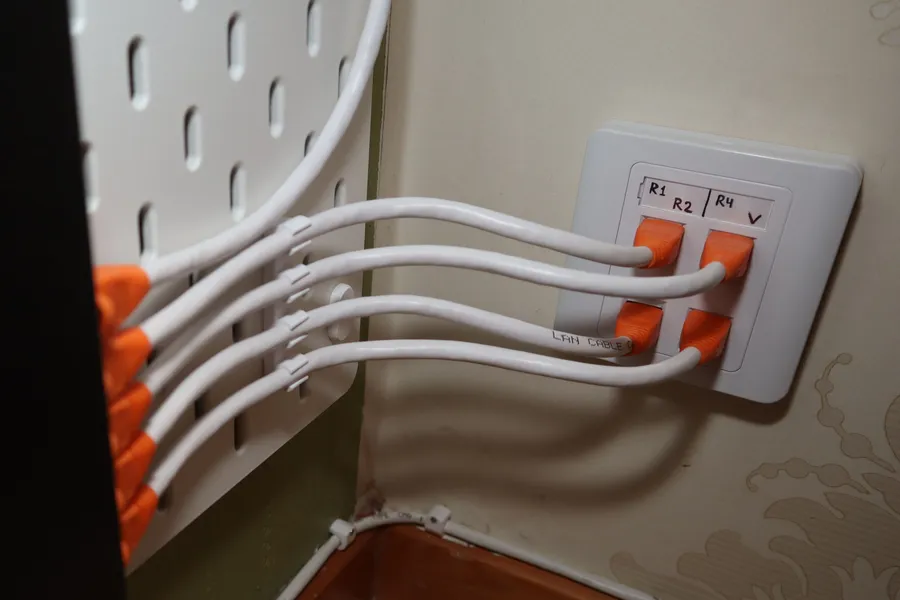
With the pipes all installed I descended from the attic to install the connection boxes. I also 3D printed some great cable guides in orange PETG. Returning to the attic I mounted these along the wall and rafters to run my cables through.
I had the help of my dad at this point to help run cable. An experienced electrician comes in handy for this sort of thing, especially since it did not cross my mind that cat 6 was thicker than cat 5 until it was time to run the cable; 16 mm pipe is on the narrow side for two cat 6 cables, 20 mm would be much better. Halting work to go get new pipes, a 20 mm drill, and attempting to widen two 16 mm holes to 20 at an awkward angle was not very enticing, and my dad assured me that "it will probably be fine". Not a direct quote, but it captures the spirit. We gave it a shot and managed to push and pull through, although with quite a bit of force and with some connections popping loose.
With the attic done all that was left was inside: cut the cables to length, fit the connectors, and fit the outlet frames.
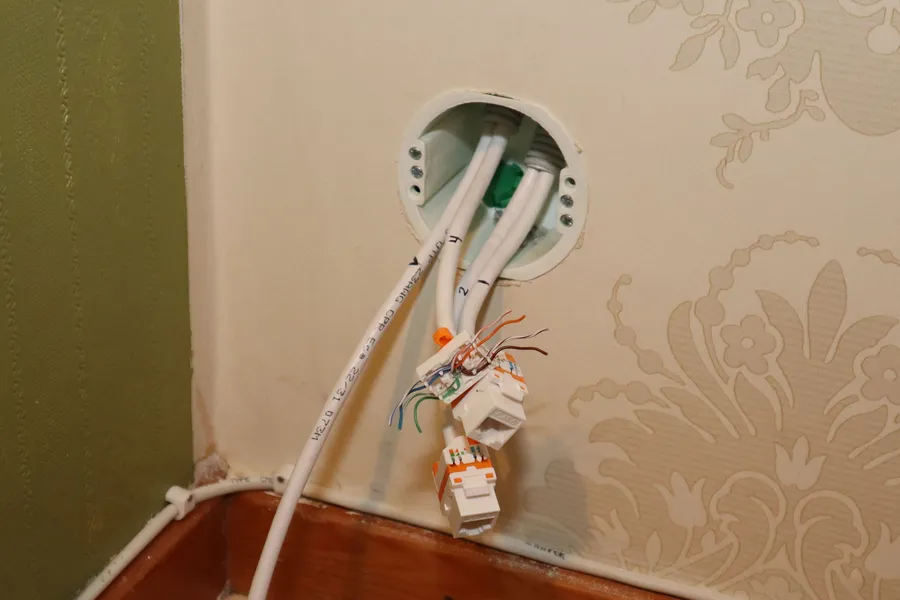
The toolless keystone cat 6 connectors where great to work with, well worth the extra cost. I even managed to squeeze in the 4 port outlet despite it looking dire, until the wall plate itself interfered with the connection box with 5 mm to go. So close, yet so far away.. To fix this I made a thin spacer in OnShape and printed it out in some white PLA I had lying around.